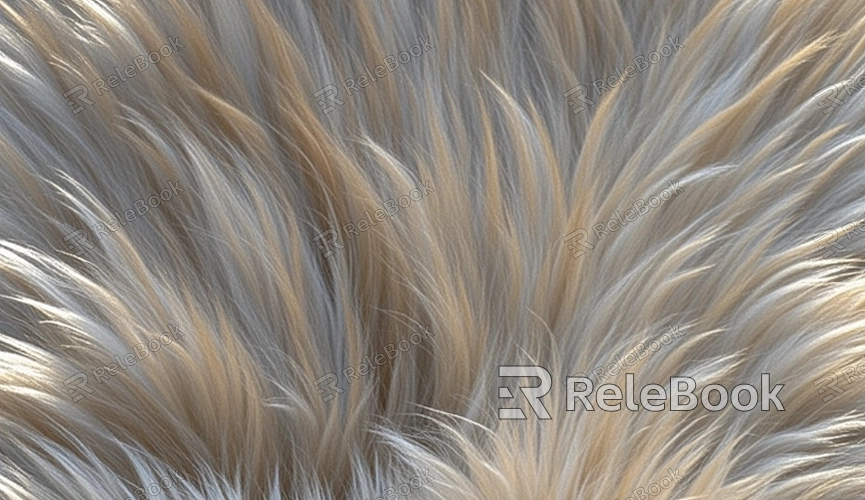
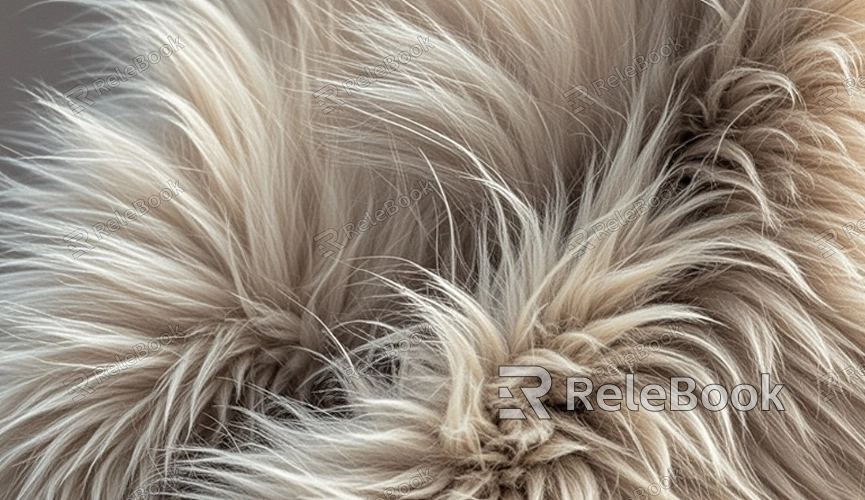
How to Add Fur Texture to a 3D Model?

Preparing Your 3D Model
Before you start adding fur texture, ensure that your 3D model is properly prepared. The quality of the fur will be highly dependent on the underlying model and its UV mapping.
1. Optimizing the Model
Start by ensuring that your model is clean and optimized. Remove any unnecessary polygons and ensure that the geometry is smooth. The model should have sufficient resolution to support the fur, but it should not be overly complex.
2. UV Mapping
UV mapping is crucial for texturing, including adding fur. Proper UVs ensure that textures and fur maps are applied correctly. Unwrap your model’s UVs carefully to minimize stretching and ensure that the fur texture maps align well with the model's surface.
Choosing the Right Fur Tool
Several tools and software packages specialize in adding fur and hair to 3D models. The choice of tool can greatly affect the outcome of your fur texture.
1. Using Blender
Blender offers robust tools for creating and managing fur. The Particle System in Blender can be used to generate fur, which is then styled and textured using various settings. Blender's Hair Particle System allows for precise control over fur length, density, and style.
2. Using Maya
In Autodesk Maya, the XGen tool is commonly used for creating fur. XGen provides advanced features for grooming, texturing, and rendering fur, allowing for detailed control over the appearance and behavior of the fur.
3. Using Other Software
Other software like 3ds Max (with the Hair and Fur modifier) and Houdini also offer advanced fur and hair tools. These tools typically come with options for customizing fur attributes such as clumping, length, and color.

Creating and Applying Fur Textures
Once you have selected the appropriate tool, the next step is to create and apply fur textures to your model.
1. Generating Fur Maps
Fur maps are grayscale images that control various aspects of the fur, such as density, length, and color. Use image editing software like Adobe Photoshop or Substance Painter to create these maps. The maps should be designed to match the UV layout of your model to ensure proper application.
2. Applying Fur Maps in Blender
In Blender, after generating your fur maps, you can apply them through the Particle System settings. Go to the Particle System tab and configure the settings to use your fur maps for density and length. Blender also allows you to paint fur directly onto the model using Vertex Paint.
3. Applying Fur Maps in Maya
In Maya, XGen allows you to apply fur maps through its Attribute Editor. Load your maps into the appropriate channels to control fur attributes. Adjust settings such as fur length, density, and color to achieve the desired look.
Grooming and Refining Fur
Once the fur is applied, grooming and refining are essential steps to ensure the fur looks natural and integrates well with the model.
1. Grooming Tools
Both Blender and Maya offer grooming tools that allow you to style the fur. Use these tools to comb, cut, and style the fur to achieve a realistic appearance. Grooming tools enable you to add variation and realism to the fur, making it look more natural.
2. Fine-Tuning Fur Attributes
Adjust the attributes of the fur to refine its appearance. This includes modifying the length, clumpiness, and distribution of the fur. Pay attention to areas where the fur may need to be thicker or thinner and adjust accordingly.
3. Simulating Fur Movement
If your project requires animated fur, ensure that the fur movement is realistic. Use physics simulations or rigging techniques to make the fur respond naturally to character movement and environmental factors.
Rendering and Testing
The final step involves rendering your model to see how the fur looks in various lighting conditions and making any necessary adjustments.
1. Rendering Fur
Render your scene using high-quality settings to capture the details of the fur. Test different lighting setups to ensure that the fur looks realistic under various conditions. Pay attention to how light interacts with the fur and make adjustments as needed.
2. Testing and Adjustments
Review your rendered images and make any final adjustments to the fur texture. This might involve tweaking the fur maps, adjusting grooming settings, or modifying material properties to ensure the fur appears as realistic as possible.
FAQ
What is the best software for adding fur to a 3D model?
Popular software for adding fur includes Blender, Autodesk Maya (with XGen), and 3ds Max. Each offers powerful tools for creating and managing fur.
How do I create fur maps for my model?
Fur maps can be created using image editing software like Adobe Photoshop or Substance Painter. These maps control attributes like fur density and color and should match the UV layout of your model.
Can I animate fur in my 3D model?
Yes, fur can be animated using physics simulations or rigging techniques to make it respond naturally to movement and environmental conditions.
How can I ensure my fur texture looks realistic?
To ensure realistic fur, use high-quality reference images, carefully groom and style the fur, and test it under different lighting conditions to refine its appearance.
Are there any tips for improving fur rendering?
Use high-quality render settings, experiment with different lighting setups, and adjust fur attributes to achieve the most realistic appearance.

